
Most pantry organization advice is written for people with a bag of flour, a few cans of soup, and a box of pasta. If that’s your situation, great – there are a lot of pretty articles about labeled bins and lazy susans waiting for you.
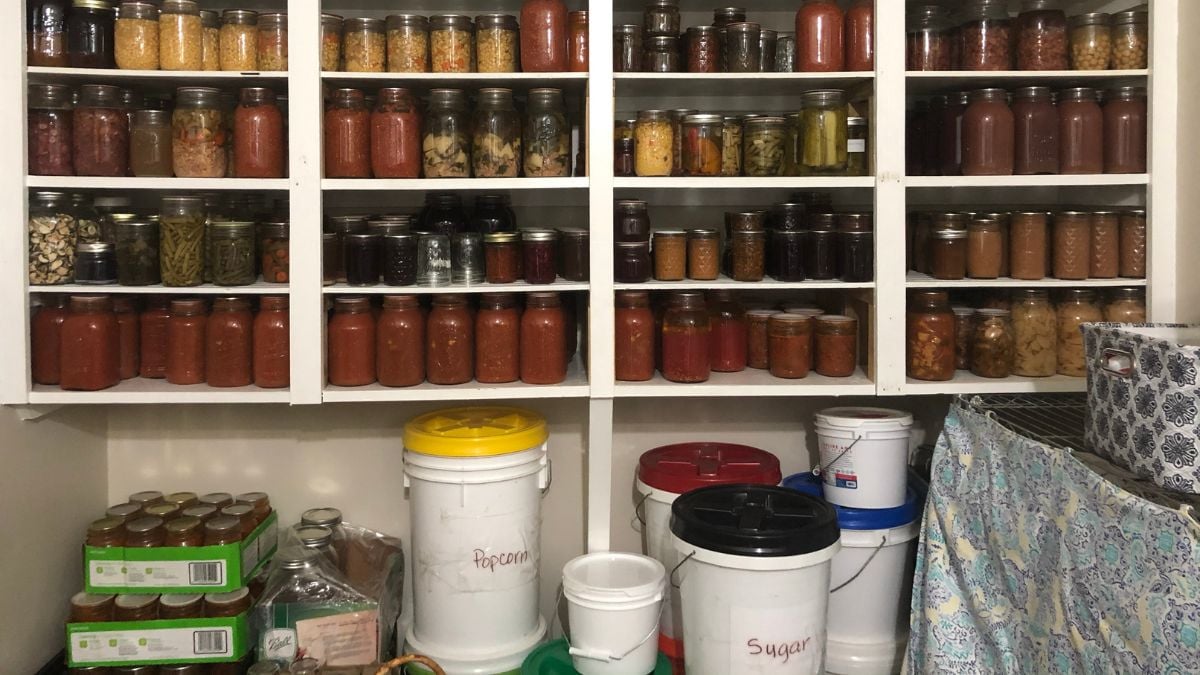
But if you’re a home food preserver with shelves of canned tomatoes, a chest freezer packed with last summer’s corn and pesto, jars of dehydrated herbs, and dried beans waiting to be pressure canned… you have a different problem. Your pantry isn’t cluttered with forgotten snacks. It’s a working system, and organizing it means something entirely different.
It means knowing what you put up last season, what your family actually used, what’s been sitting too long, and what you need to make before the next harvest starts coming in.
It means the freezer and the pantry shelves talking to each other.
It means treating your food preservation efforts like the investment they are.
This is the guide to pantry organization for people like us.
Why Pantry Organization Looks Different for Home Preservers
Walk into a home food preserver’s kitchen and you’ll see things a generic pantry organization guide never accounts for:
• Canned goods that need to be rotated before the next canning season, not just “stapled items”
• A chest freezer that may hold an entire year’s worth of fruit, corn, meat, and broth
• Dehydrated herbs and vegetables in vacuum-sealed jars that need regular seal checks
• Dry goods like beans and grains bought in bulk that have a real shelf-life window
• Items that were tested recipes or experiments that didn’t become family favorites
The goal isn’t to make your pantry look like a magazine photo. The goal is to know what you have, use what you’ve preserved, and make smart decisions about what to put up next. A beautiful pantry that hides three-year-old jars of jalapeño jelly behind the tomatoes is still a disorganized pantry.
The best tool for a working food preservation pantry isn’t a label maker. It’s a regular audit.
When to Organize Your Pantry and Freezer
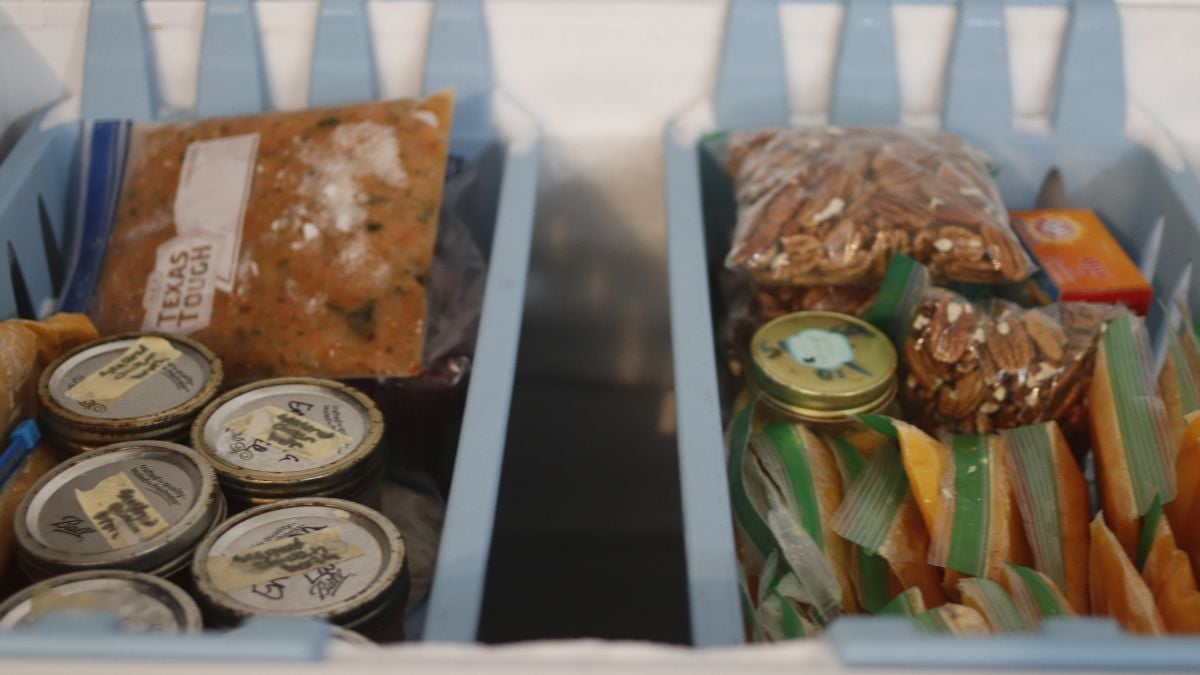
The best time for a full pantry organization session is at the transition between seasons -specifically at the end of the main harvest season, before you start putting up new food.
For most of us in the southern US, that’s late summer or early fall, when the garden is winding down and the pressure canner is finally getting a rest. For those in cooler climates, it might be late fall after the final harvest.
The timing matters because:
• You can see clearly what you went through versus what didn’t get used
• You can make a plan for fall and winter preserving (beans, meat, broth don’t require a garden)
• The freezer may have room to clear out before hunting season or a deer harvest
• You can catch anything that’s been sitting too long before quality declines further
Ideally, do a full audit twice a year — at the end of harvest season and again in late winter or early spring before things get busy again.
Even a quick once-over at the start of each new canning project (checking what’s left of last year’s batch before you make more) goes a long way.

How to Organize Your Pantry Shelves (Canned Goods)
Here’s the honest truth about organizing canned goods: the most important things aren’t bins or labels. They’re rotation and visibility.
Step 1: Pull everything forward
Take every jar off the shelf and put it where you can see it. This sounds obvious, but most pantry chaos lives at the back of a shelf. You cannot organize what you cannot see.
Step 2: Check seals and condition
Press the center of every lid. It should be firm, concave, and completely silent. Any lid that flexes up and down, makes a popping sound, or feels loose has lost its seal. Remove those jars immediately and refrigerate them to use right away.
Also look for: rust on the lid band or rim, unusual cloudiness in the liquid, or any off smell when you handle the jar. If anything looks or smells wrong, throw it out. Food safety always comes first.
Step 3: Remove the rings
Jars that are stored with their rings on can develop what’s called a false seal – a seal that feels solid but isn’t actually airtight. If any of your stored jars still have rings, take them off now. Store your jars without the rings, and use the rings again for your next canning project.
Step 4: Group by category and rotate
Put like items together: all the tomatoes together, all the beans, all the jams and jellies, all the pickles, all the meat. Within each category, put the oldest jars at the front and newest at the back. This is called FIFO — first in, first out — and it’s the single most effective pantry organization habit you can build.
Step 5: Take note of what’s been sitting
Anything that’s been on the shelf for more than one full season deserves a closer look. It’s probably still good — properly canned food is shelf-stable for 18 months to several years, though quality starts to decline after about 18 months. But if it’s been there a while, ask yourself honestly: is your family going to eat it?
If the answer is probably not, make a plan. Those jars that didn’t become family favorites can usually be worked into soups, sauces, or braises where they’re one ingredient among many rather than the star. I’ve been using up extra jars of jam as salad dressing bases lately – just add vinegar and a little oil, and an overstocked pantry becomes a pretty great vinaigrette. If you need a little inspirations, Jar to Table cookbook is for you.
Labeling tip: Always label your jars with the contents and the year before they go on the shelf. Dewberry jelly and grape jelly can look almost exactly the same after six months. A piece of masking tape and a permanent marker takes five seconds and saves a lot of confusion later.
How to Organize Your Freezer
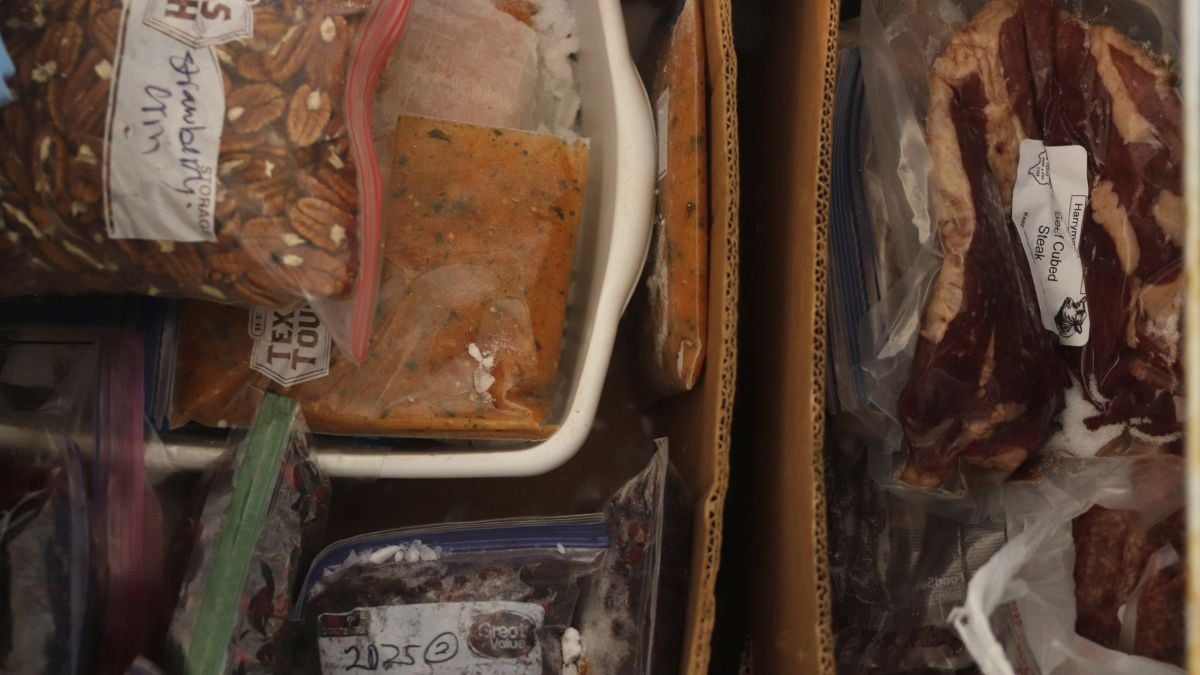
Freezer organization is where a lot of home preservers run into the most frustration. A chest freezer is a wonderful thing — and also a black hole where last summer’s corn and an unidentifiable mystery bag from three years ago both disappear equally.
The full clean-out:
Once or twice a year, empty the freezer completely. Yes, everything. Put it in coolers, work quickly, and use the opportunity to wipe down the interior and defrost if needed.
As you pull things out:
• Toss anything with heavy freezer burn, or anything you genuinely don’t recognize
• Check labels — if they’ve faded or peeled, relabel before things go back in
• Set aside anything that needs to be used up in the next month or two
Organize by category when you repack
Group your freezer contents by type as you put them back: meats together, fruits together, vegetables together, broths and sauces together, prepared meals together. Use boxes or bins (banana boxes from a grocery store work perfectly in a chest freezer) to keep categories corralled and make it easy to find things without digging.
Freeze flat whenever you can. Bags of frozen eggs, soup, salsa, and most sauces can be laid flat to freeze and then stood up like file folders once solid. This alone will probably double your usable freezer space.
A note on chest freezer size:
Here’s something I learned the hard way after going from a large household to a much smaller household: one large chest freezer isn’t always better than two medium ones. When you have a single oversized freezer, it’s either stuffed or running half-empty (and wasting electricity to keep a lot of air cold). Two smaller freezers give you more flexibility — you can run just one during the off-season and bring the second online when the harvest comes in.
If you’re in the market for a chest freezer, that’s worth thinking about before you buy.
The outside refrigerator trick:
If you have an extra refrigerator or a small freezer in a garage or mudroom, use it as a staging area. Keep this week’s meat, the fruit for smoothies, and things you’re actively working through in the more accessible freezer. That way you’re only opening the chest freezer once a week to restock, which keeps it colder and makes it easier to maintain your organization.
Don’t Forget the Dehydrated Goods and Dry Pantry Staples
Canned goods and freezer items get most of the attention, but the dehydrated shelf and the dry pantry deserve a look too.
Dehydrated and vacuum-sealed goods
If you store dehydrated herbs, fruits, or vegetables in vacuum-sealed mason jars, check the seals regularly…especially if you live somewhere humid. A seal that’s lost its vacuum has let moisture in, and the contents will soften, clump, or eventually mold. Anything that feels soft or sticky needs to be used up or re-dried.
Consolidate partially-full jars of the same item. Check anything that’s been stored more than a year; the flavor and nutrition of dehydrated food fades over time even if the seal is intact.
Dry goods: beans, grains, spices
Dried beans have a reputation for lasting forever, but practically speaking, beans older than two to three years may not soften properly when cooked (pressure canning often salvages them, but it’s still better to rotate). Grains, rice, and pasta can go rancid or attract insects if not stored properly.
Spices are the quiet underperformers in most pantries. Rub a pinch of any dried herb or ground spice between your fingers and smell it. If the scent is faint, the flavor is gone — and you’re adding it to your food for nothing.
Most ground spices are best within one to two years.
Whole spices last longer.
Your home-dried herbs, because they were dried at their peak rather than sitting in a warehouse, are usually more potent than store-bought and should last longer.
The Part Most Organization Guides Skip: Planning for Next Season
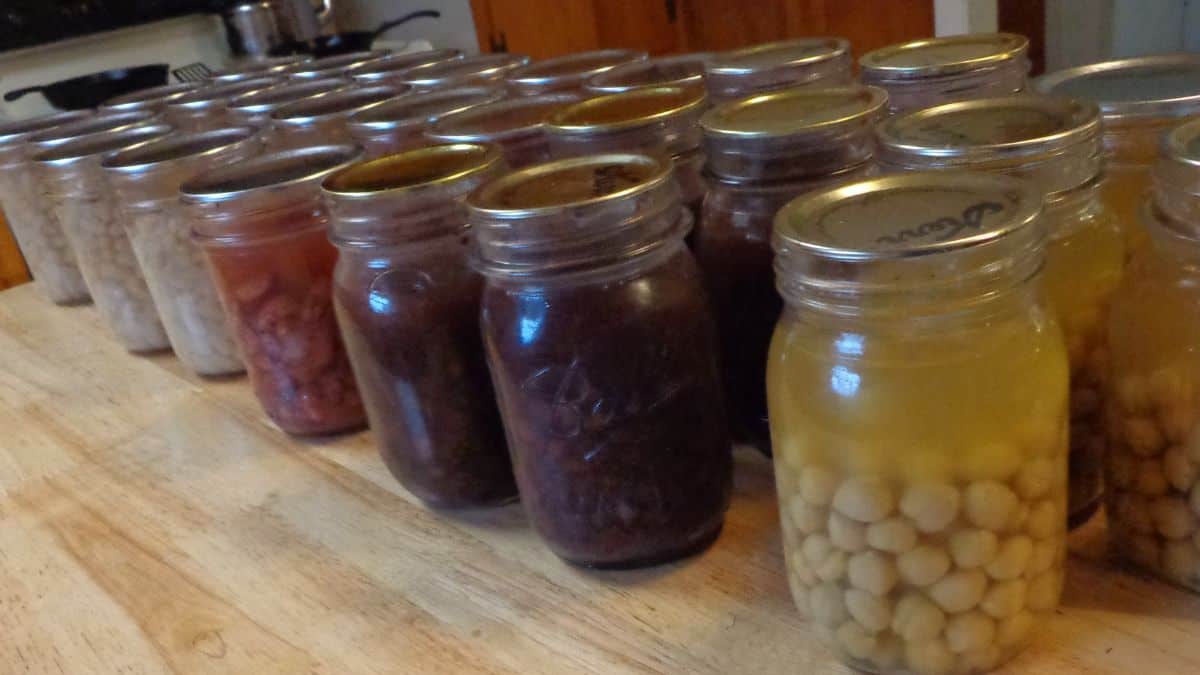
Organizing your pantry isn’t just about tidying what’s there. It’s about making smarter decisions for what comes next.
Once you’ve done your audit and you can see what you have and what’s been sitting, ask yourself:
• What did we run out of before the new season? Make more of that.
• What did I still have plenty of when the new crop came in? Make less, or skip it this year.
• What does my family actually eat and enjoy? Stop putting up things they don’t reach for.
• What can I preserve during the off-season? Beans, meat, and broth don’t require a garden.
• What do I plan to grow versus buy from a farm or farmers market this year?
This is the part that separates a working pantry from a hobby pantry. The goal isn’t to have 200 jars on the shelf because that feels impressive. The goal is to have the right 80 jars that your family will actually eat before the next season rolls around.
Preserve what your family eats. Eat what you preserve. That’s really the whole system.
Join The Well Preserved Pantry
Looking for kitchen encouragement and inspiration without the overwhelm? The Well Preserved Pantry is the place to be. With monthly live demonstrations, pantry chats and an online community chat you can get your questions answered without the toxicity of social media.
Plus…it’s free to check out!
Ready to do your own pantry audit?
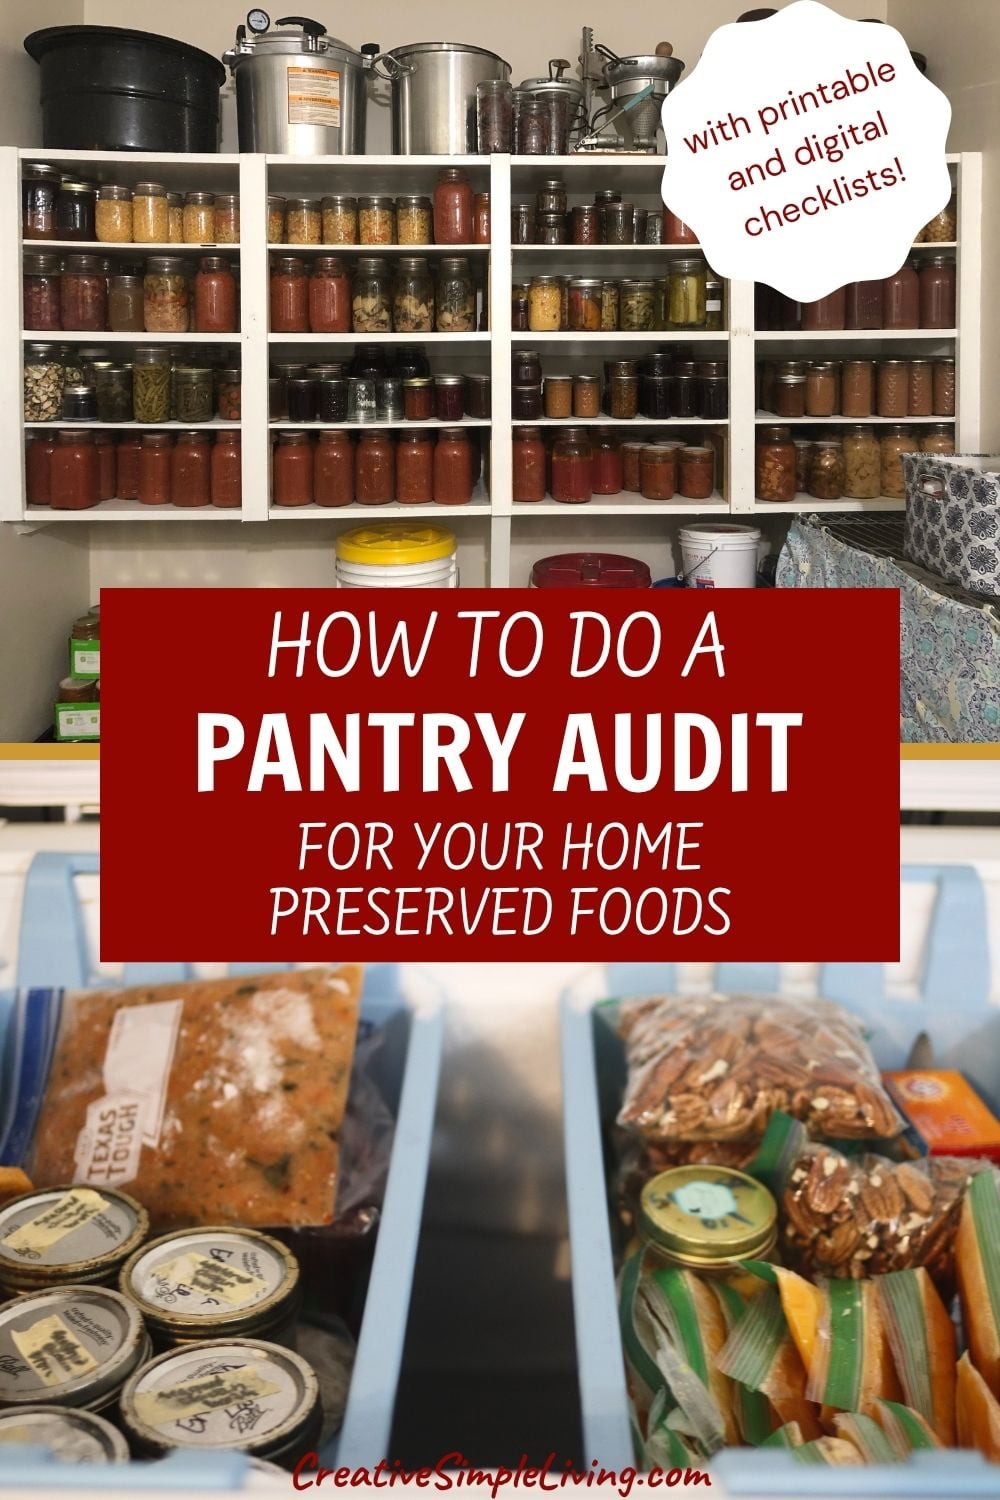
I built a free interactive checklist that walks you through every category — canned goods, freezer, dehydrated goods, dry pantry staples, and season planning. Your notes save automatically to your browser so you can come back to it. You can also print it.
Open the Pantry Audit Checklist
If you’re looking for more home preserved pantry inspiration and encouragement, consider joining The Well Preserved Pantry – it’s free to check out!
Making It a Habit
The hardest part of pantry organization isn’t the initial clean-out. It’s keeping it up. A few habits that make a real difference:
• Do a quick check before every new canning project. How much of last year’s batch do you still have? That number tells you how much to make this year.
• Note when you run out of something mid-season. A sticky note on the shelf or a note in your phone takes five seconds and gives you data for next year’s planning.
• When you open a box of jars to fill, rotate the older ones to the front of the shelf first.
• Label before the jar goes on the shelf, not after. You will not remember what it is in six months.
None of these take much time individually. Together, they keep your pantry from turning into the thing we all know it can become…a collection of good intentions and mystery jars.
Your Pantry Is Worth Taking Care Of
You spent real time and money on everything in that pantry and freezer. The tomatoes represent mornings at the farmers market or hours in a hot garden. The green beans are the ones your parents called you about when they were ready. The pesto is a year of basil harvests, a little bit at a time.
A regular pantry audit isn’t a chore. It’s how you make sure all of that effort actually ends up on your family’s table.

Angi Schneider is the author of The Ultimate Guide to Preserving Vegetables and Pressure Canning for Beginners and Beyond, both published by Page Street Publishing. She has taught canning classes for 177 Milk Street, been featured in Serious Eats, and written for Countryside Magazine. Angi has been sharing gardening, preserving, and simple living skills since 2010.