
Tin foil dinners go by a lot of names depending on who you ask. Some people call them hobo dinners, some call them foil packet dinners, and some call them campfire packets. At our house we call them silver turtles – that’s what my husband and boys call them in Scouts and it stuck.
Whatever you call them, the idea is the same: a complete meal wrapped up in a foil packet and cooked over a campfire, on a grill, or in the oven.
What I love most about silver turtles is that everyone gets exactly what they want. Everyone assembles their own packet with the ingredients they like – extra onions for one, no onions for another, fruit for the ones who want it.
When you’re feeding a crowd of kids and their friends, this is genuinely the easiest path to a happy table. And when everyone’s done eating, there are no dishes. Just foil to toss in the recycling.
We make these camping, in the backyard, and at tailgate parties. They travel well, they cook fast, and they’ve been a family staple for years. Here’s how we do it.
What Makes These Tin Foil Dinners So Good
- Everyone assembles their own packet with exactly what they want — it’s one of the only dinners where picky eaters and adventurous eaters can both be happy at the same meal.
- A complete dinner with protein, vegetables, and fruit all in one packet means zero side dishes and zero cleanup. Just toss the foil when you’re done.
- They travel well – assemble them at home, pack them in a cooler, and cook them wherever you end up. Perfect for camping, tailgating, or a day at the park.
- The ham and pineapple combination is genuinely unexpected and genuinely delicious. If you’ve only made these with hamburger meat, the ham version is worth trying.
How to make Silver Turtles
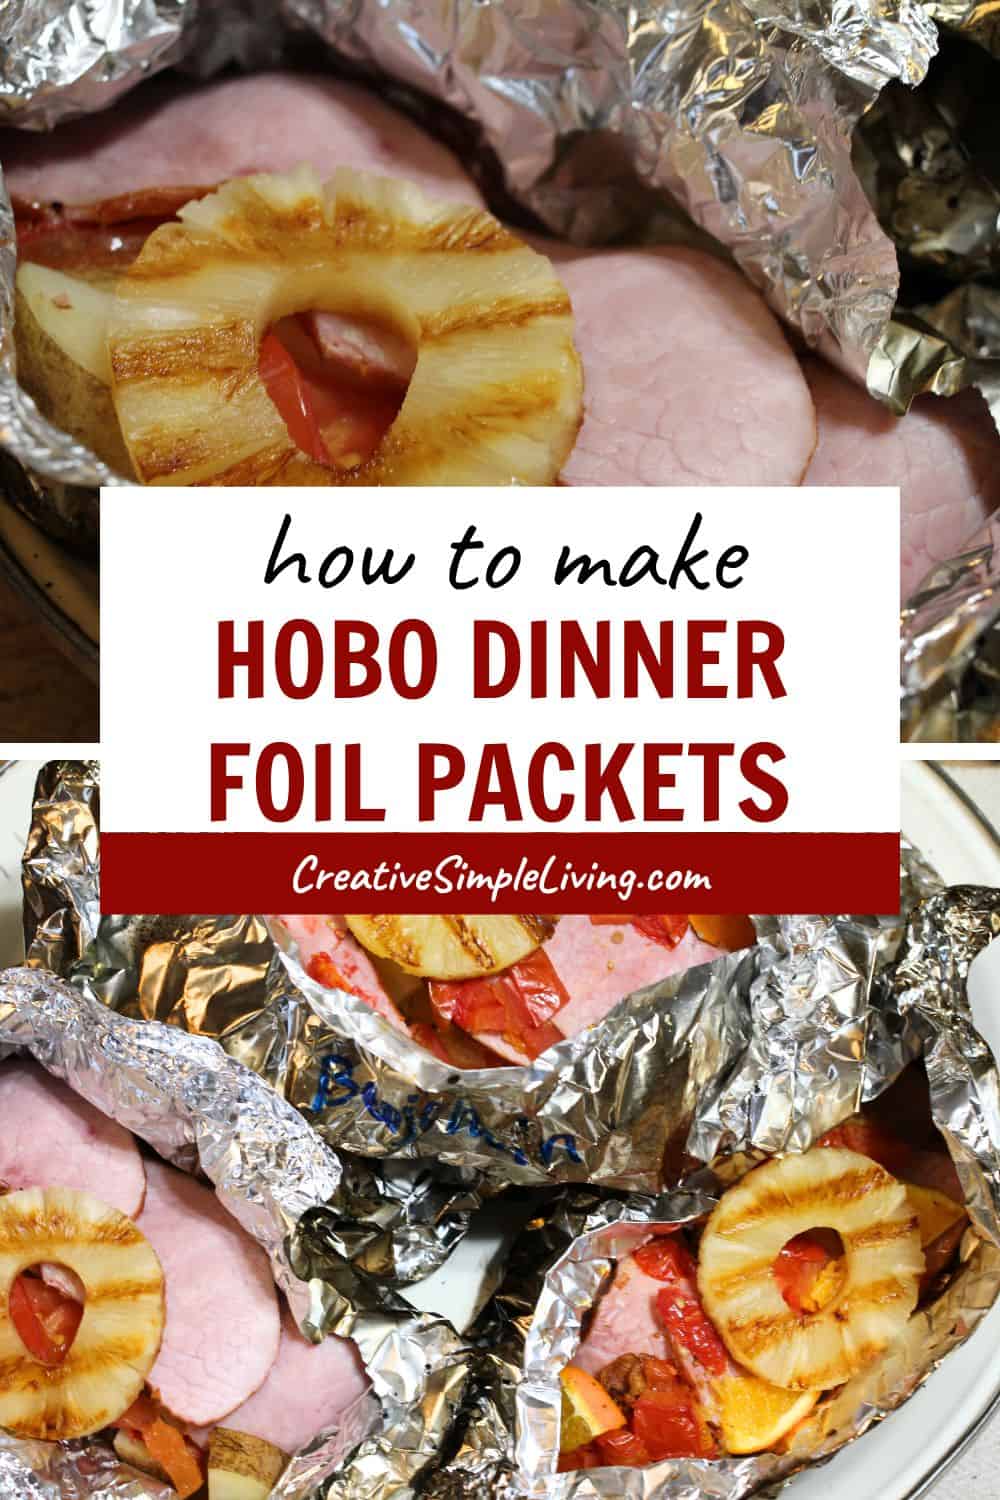
Silver turtles are traditionally made with hamburger meat, potatoes, carrots and onions. But you can make them with whatever you like. Sometimes we like to put ham in ours instead of hamburger meat for a change of pace.
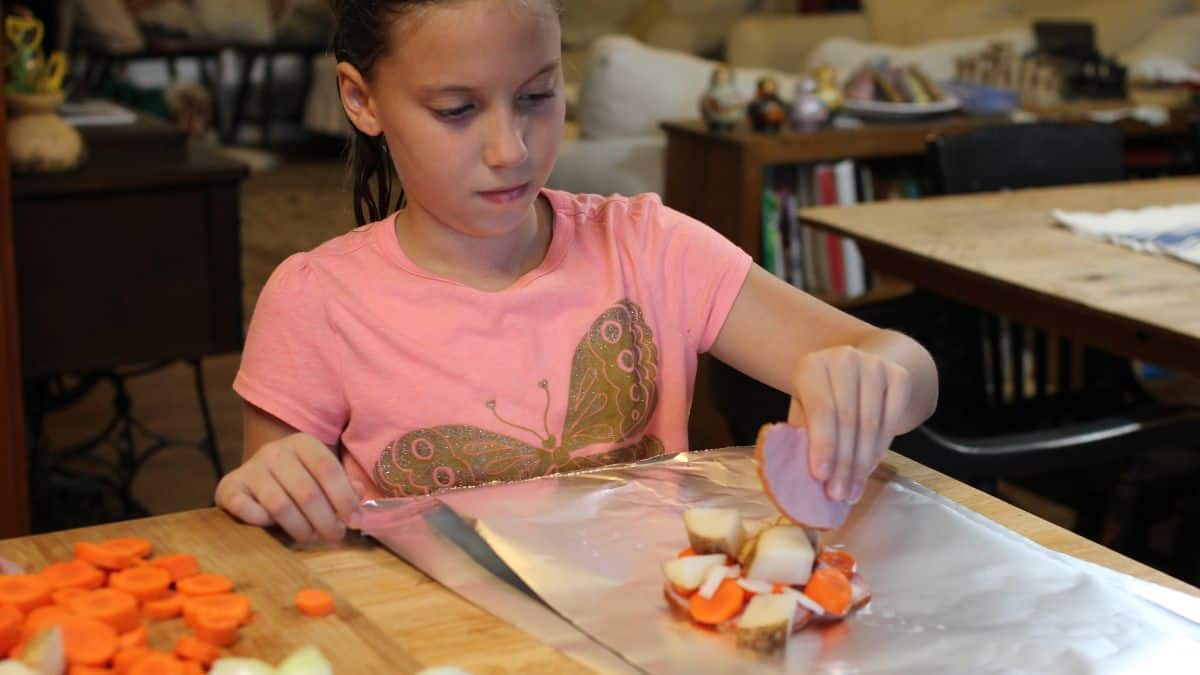
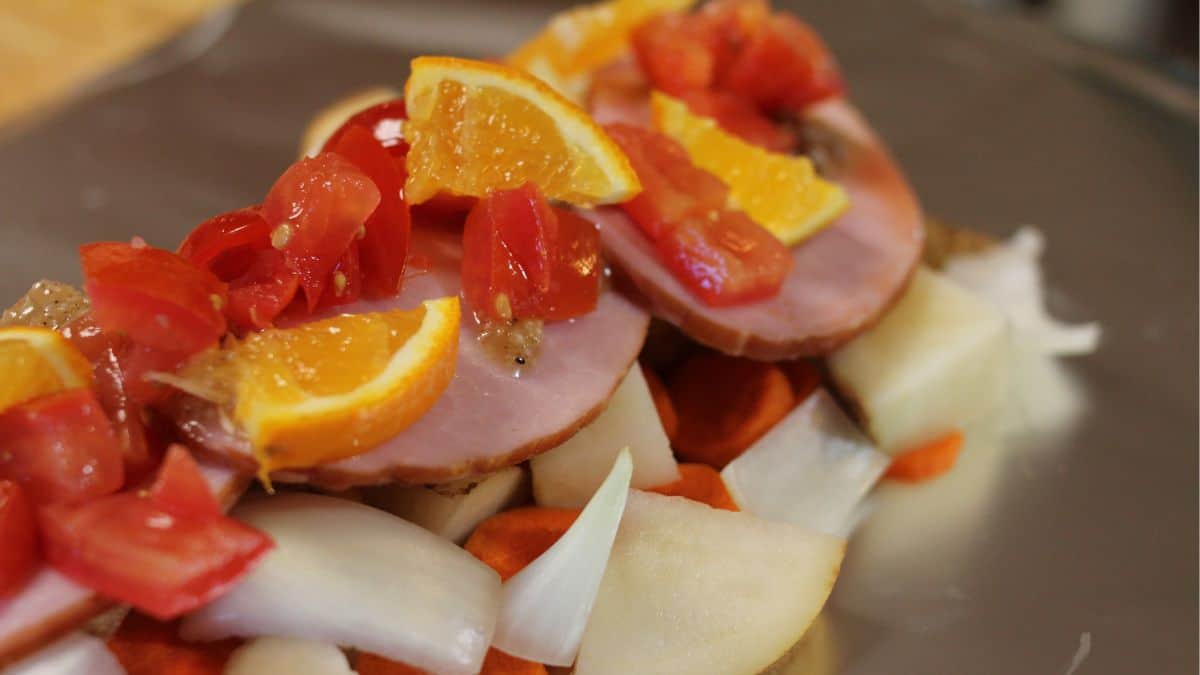
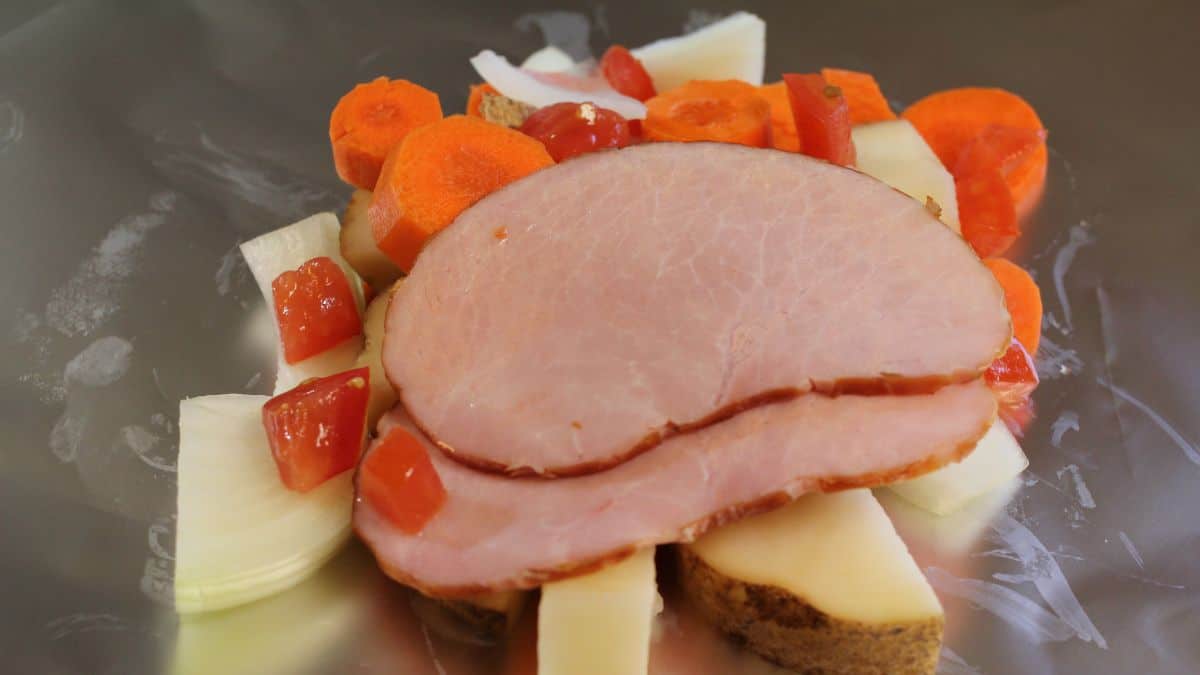
To make the foil packets you’ll need a piece of heavy duty foil about 18″-24″ long. We like to put our veggies on first with the meat on top. That way all the drippings from the meat help cook and season the veggies. Some of us will add a little extra moisture by drizzling some bacon grease on top. It’s not necessary but it is tasty.
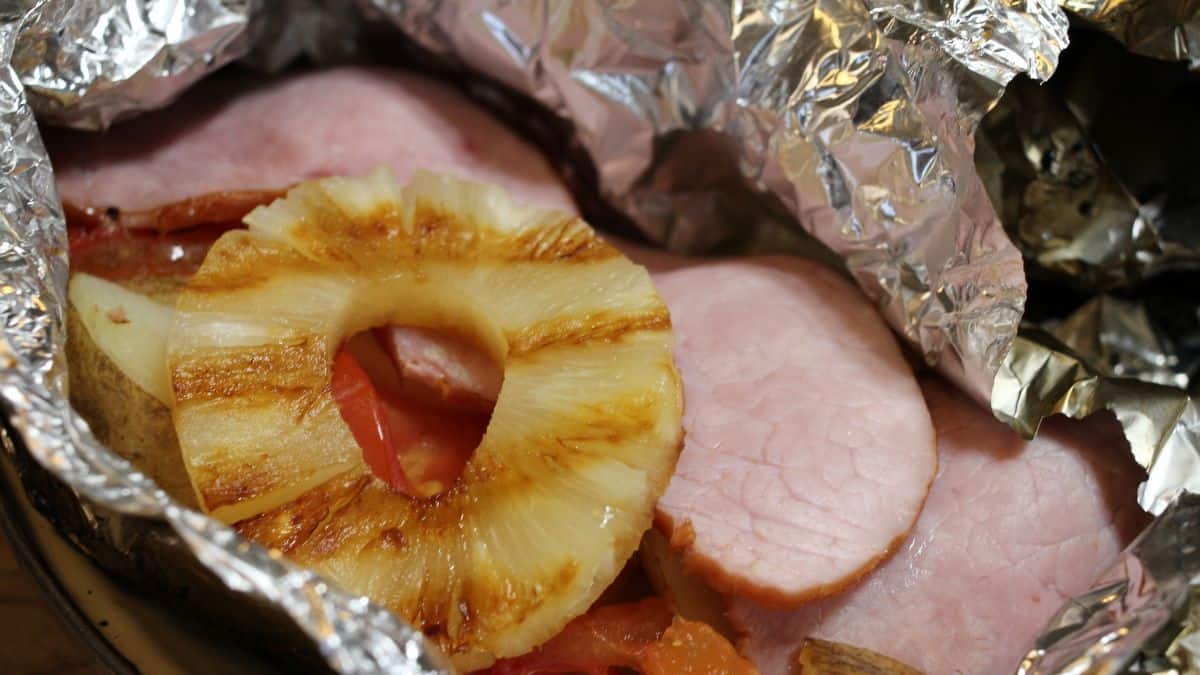
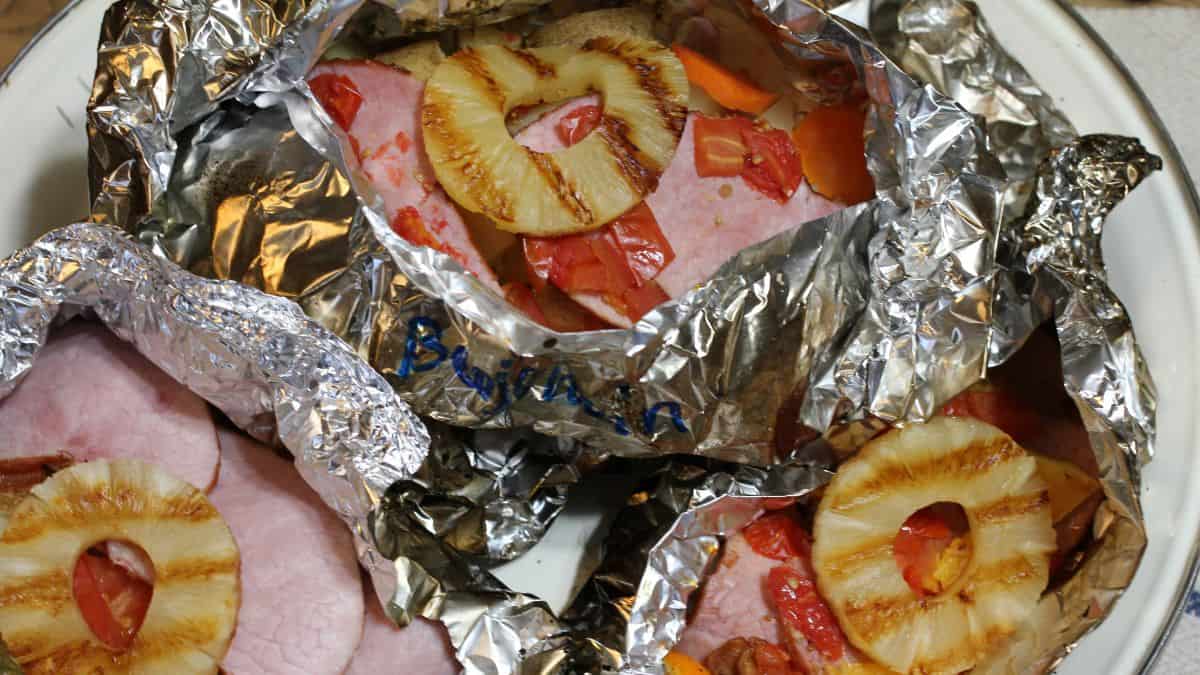
Fruit goes really well with ham so some of us like to put orange or apple slices in our foil packets. And we grill some pineapple slices to eat with the silver turtles. You can put the pineapple slices in the foil packet but we like the flavor that grilling them gives. If you really like pineapple, you could do both.
Once you get everything on the foil that you want, pull up the two long sides and seal them by rolling them over twice. Then seal the sides doing the same thing. This is how I make the foil packet. Some of my kids just pull up all four sides and twist the foil together. Some like to get creative and make each one unique. The only thing that really matters is that it can’t have any gaps or holes in the seams or all the drippings will drip out….and we can’t have that.
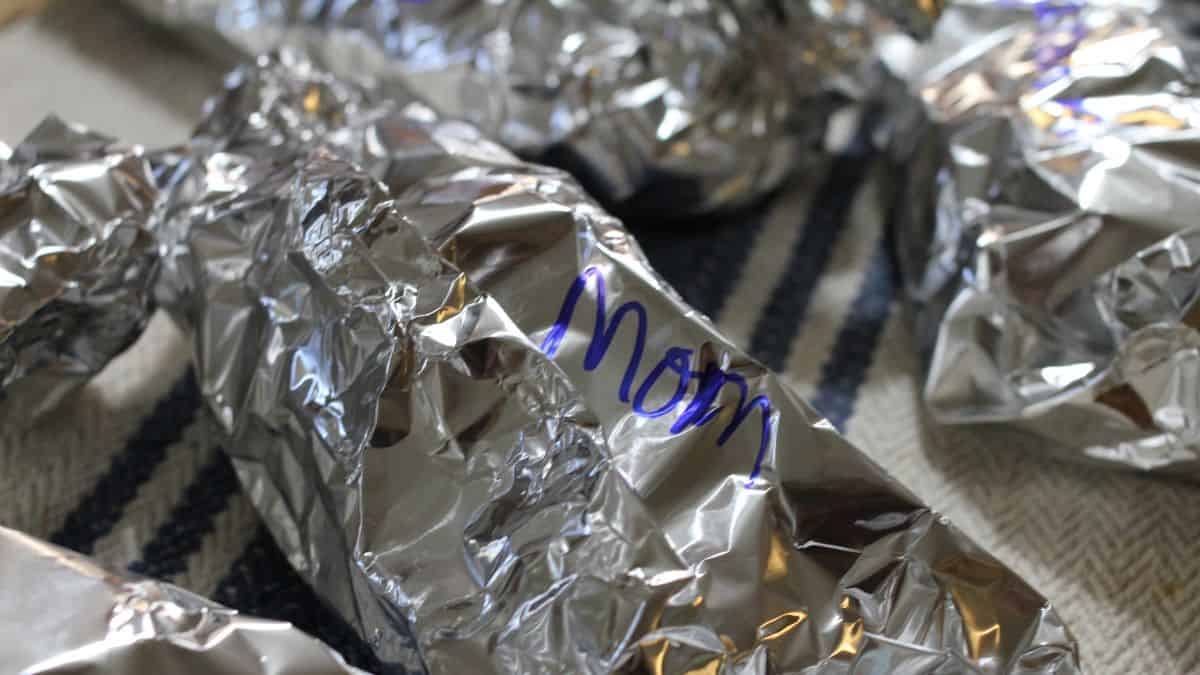
Once the foil packets are sealed, I like to use a Sharpie and write the person’s name on their packet. This is so much easier than trying to remember where you put your packet on the grill.
When we grill the silver turtles we like to put them over the hot coals and not over a flaming fire. You want an even heat. The coals are for even cooking and the flames are fickle. It will probably take 10-20 minutes for the silver turtles to cook. It really just depends on what vegetables you have – potatoes will take longer than zucchini – and how hot your grill is. You’ll want to start checking them when you hear them sizzle and smell them cooking.
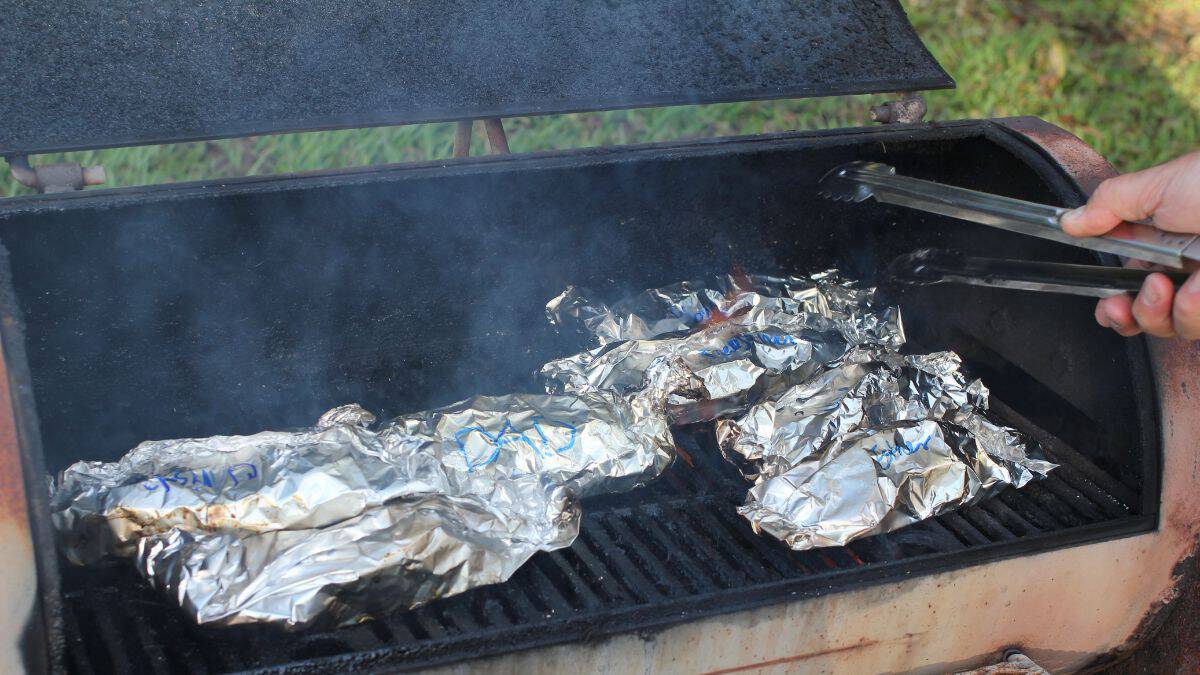
We always joke that my husband has “to watch the grill” when we’re grilling out, but it’s true – you can’t just put something on the grill and walk away like you can when you put something in the oven.
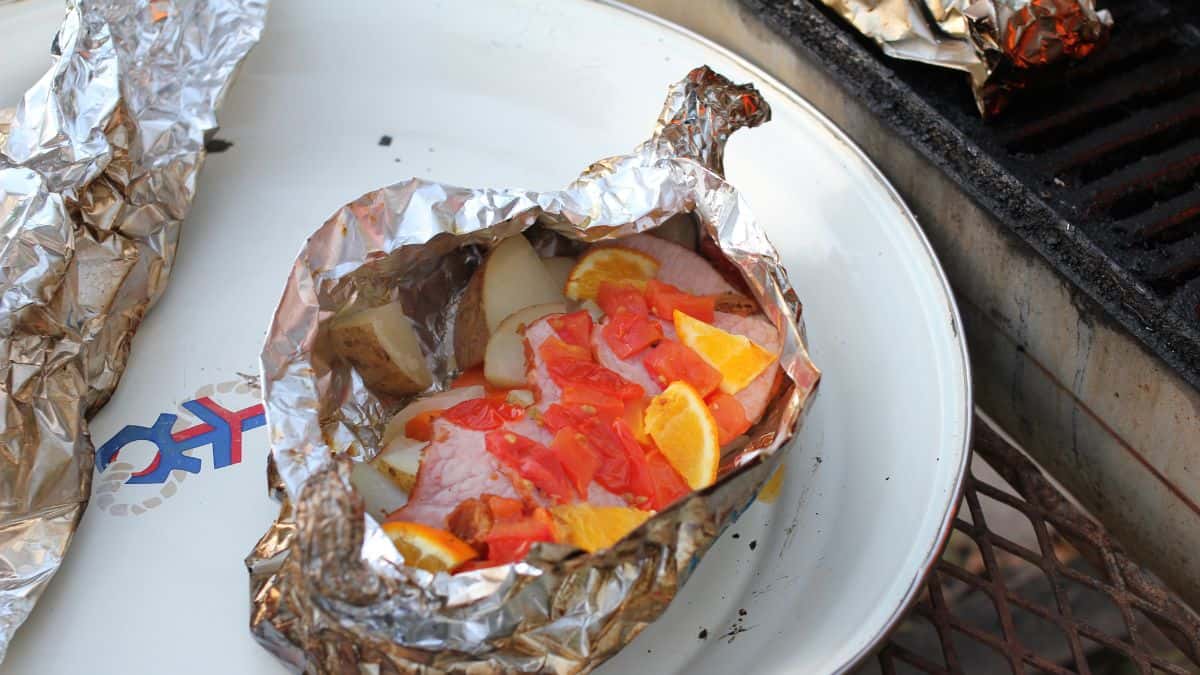
Once the silver turtles are done, you can put them right on the table and eat out of the foil packet, there’s no need for plates. This means fewer dishes to wash and less waste – yet another reason I like silver turtles.
All the Ways to Cook Tin Foil Dinners
The beauty of foil packet dinners is that you can cook them almost anywhere. Here’s how each method works:
Campfire or fire pit: Place packets over hot coals – not an open flame. Coals give even, consistent heat; flames are too unpredictable and will burn the outside before the inside is cooked. Cook for 15-25 minutes depending on what’s inside. Potatoes and carrots take longer than zucchini or tomatoes. Start checking when you can smell them cooking and hear them sizzling.
Grill: Place packets directly on grill grates over medium heat. Cook for 15-20 minutes, flipping once halfway through. The flip redistributes the juices and helps everything cook evenly.
Oven: Preheat to 400°F and place packets on a baking sheet. Cook for 35-45 minutes. This is the method to use in a pinch or on a rainy day when camping doesn’t happen.
Make-ahead tip: Assemble the packets completely, seal them, label each one with a Sharpie, and refrigerate for up to 24 hours before cooking. They go straight from the fridge to the fire or grill – no thawing needed.
Tin Foil Dinner Variations
The classic combination is ground beef patty, potatoes, carrots, and onion. And there’s a reason it’s classic…it’s delicious! But there’s a lot of room to play.
Proteins:
- Ground beef patty (the traditional choice be sure to season it well before wrapping)
- Pre-cooked ham (fun change of pace plus no worry about undercooking)
- Kielbasa or smoked sausage sliced into rounds
- Chicken thighs or breasts (make sure they reach 165°F)
- Shrimp (cooks fast and only needs about 10 minutes. You might want to cook root veggies separately)
- No meat at all – a vegetarian foil packet with extra vegetables is completely satisfying
Vegetables that work well:
- Potatoes (any variety, just cut small so they cook through)
- Carrots (slice thin since they take longer than most vegetables)
- Onions (add flavor to everything around them)
- Zucchini or summer squash (add near the end if doing oven method, cooks fast)
- Bell peppers
- Corn on the cob pieces
- Sweet potatoes
- Mushrooms
- Cabbage
Fruit additions (especially good with ham):
- Orange slices
- Apple slices
- Pineapple rings (we grill ours separately so they get some char, but you can put them in the packet too)
Seasonings and moisture:
- Salt and pepper at minimum
- Garlic powder, onion powder, Italian seasoning all work well
- A pat of butter on top of everything adds richness and keeps things moist
- A drizzle of bacon grease if you have it (this is what my family does and it is delicious)
- A tablespoon of cream of mushroom soup is a classic hobo dinner addition that makes everything more savory
Layering tip: Put vegetables on the bottom, meat on top. The drippings from the meat will season the vegetables as everything cooks.
Tips for the Perfect Foil Packet
- Use heavy duty foil. Regular foil is too thin and will tear or burn through, especially over a campfire. Heavy duty is worth it.
- Make your piece long enough. Cut 18-24 inches per packet so you have plenty of foil to fold over and seal completely.
- Seal it tight. Fold the long edges over twice, then fold the short ends over twice. No gaps! The drippings that stay in the packet are what make this dinner so good.
- Seam side up on the grill. Place packets with the sealed seam facing up so juice doesn’t drip out through the seams.
- Label every packet. Use a Sharpie to write names or initials before you seal. When everyone makes their own, this is the only way to know whose is whose on the grill. Don’t rush it. The most common mistake is pulling the packets off too early. If your potatoes are still firm, it needs more time. When in doubt, give it another five minutes.
Tried this recipe? Please leave a ⭐️⭐️⭐️⭐️⭐️ star rating in the recipe card below and/or a review in the comment section further down the page. We always appreciate your feedback. You can also save the recipe for later by pinning it or clicking on the heart in the lower right hand corner.

Easy Campfire Silver Turtles Recipe
Let everyone make their own easy dinner when you serve these foil packet dinners.
Ingredients
- Pre-cooked Ham (1/4 lb per person)
- Cubed potatoes (1/2-1 per person)
- Sliced carrots (1 per person)
- Chopped onions (1/4 per person)
- other vegetables and fruit such as summer squash, sweet potatoes, tomatoes, oranges, and pineapples
- Salt
- Pepper
- Aluminum foil
Instructions
- Tear off an 18-24" piece of aluminum foil for each person
- Put chopped vegetables in center of aluminum foil
- Salt and Pepper to taste
- Put precooked ham and fruit on top
- Close aluminum foil by folding or twisting being sure that there are no gaps
- Mark each silver turtle with Sharpie with person's name or initials
- Cook over hot coals until done (approximately 15-25 minutes)
- Enjoy!
Frequently Asked Questions
They’re all the same thing – a complete meal wrapped in foil and cooked over a campfire, grill, or in the oven. Different families and regions use different names. Hobo dinners is the most common name you’ll see online. Tin foil dinners and foil packets are other widely used terms. We call them Silver Turtles because we’re a scouting family and that’s what they’re called in scouts.
Ground beef patties are the traditional choice and cook up well over coals. Sometimes we use pre-cooked ham because there’s no worry about whether it’s cooked through – you’re just heating it up and letting the flavors meld. Kielbasa and smoked sausage are excellent options for the same reason. Chicken works but needs to reach 165°F, so check with a thermometer. Shrimp cooks the fastest – about 10 minutes – and is a great option for a lighter version.
On a campfire over hot coals: 15-25 minutes. On a grill over medium heat: 15-20 minutes, flipping once. In the oven at 400°F: 35-45 minutes. Cooking time depends on what’s in the packet – potatoes and carrots take the longest, so cut them small. Check doneness by carefully opening one corner of the packet (watch for steam) and testing the potato with a fork.
Yes – this is one of the best things about them. Assemble the packets completely, seal them, label with a Sharpie, and refrigerate for up to 24 hours. Cook straight from the fridge. We assemble ours at home before camping trips and pack them in the cooler – they’re ready to go the moment we want to cook.
Yes. Regular foil is too thin – it tears easily when handling, can burn through over a campfire, and doesn’t hold the juices in as well. Heavy duty aluminum foil is worth the small extra cost for this recipe. You can also double-wrap with regular foil if that’s all you have.
Yes – preheat to 400°F and place packets on a baking sheet. Cook for 35-45 minutes until potatoes are fork-tender. This is the method to use when it’s raining, when camping isn’t happening, or when you just want a hands-off weeknight dinner. The result is just as good as the campfire version, though you miss the smoke flavor.
Potatoes, carrots, and onions are the classic combination. Cut potatoes and carrots small so they cook through as this is the most common issue with undercooked foil dinners. Other vegetables that work well: zucchini, bell peppers, corn, sweet potatoes, mushrooms, and cabbage. Tender vegetables like zucchini cook faster than root vegetables, so either cut root vegetables smaller or give them a head start.
Double-fold every seam. Fold the long edges over at least twice, then fold the short ends over at least twice. No gaps anywhere. Place the packet seam-side up on the grill or coals so the juice doesn’t drip out through the folds. Using heavy duty foil also helps significantly.
So next time you want a super easy, super versatile, and super convenient campfire meal, make silver turtles. Everyone will enjoy them and you’ll have less prep work and clean up to do. That’s a winning combination all around.

Angi Schneider is the author of The Ultimate Guide to Preserving Vegetables and Pressure Canning for Beginners and Beyond, both published by Page Street Publishing. She has taught canning classes for 177 Milk Street, been featured in Serious Eats, and written for Countryside Magazine. Angi has been sharing gardening, preserving, and simple living skills since 2010.
I love this, Angie. So smart. We’ve done those on coals over a campfire. Never thought of putting them on the barbeque though. Excellent.
Thanks, Chris!
I’ve done foil packets for years, but never heard of them referred to as silver turtles before. I’ve done them for all three meals over the years.
They are so wonderful, aren’t they!
Duh, why have I never thought to do this with ham?! Thank you!